-
Shop
- Advanced Technologies
- AI Skills Mastery 2026 Collection
- Apple Accessories
- Arts, Crafts & Hobbies
- Best-Sellers
- Calvin Klein
- Car Accessories
- Christmas Collection
- Dating & Social Skills
- Denim
- 7FOR
- AGOLDE
- Antony Morato
- Armani Exchange
- Boss
- Brunello Cucinelli
- Calvin Klein Jeans
- Costume National
- Desigual
- Diesel
- Dolce & Gabbana
- Dsquared²
- Ermanno Scervino
- Fendi
- Gianni Lupo
- Guess Jeans
- Ichi
- Just Cavalli
- Lee
- Levi's
- Liu Jo
- Morgan De Toi
- Mother Denim
- Only
- Pepe Jeans
- Pinko
- Replay
- Tommy Hilfiger Jeans
- Valentino
- Vero Moda
- Digital Resources
- Car Buying & Ownership
- Cozy Feast Collection
- Emotional Intelligence
- Financial Education
- Home Styling & Organization
- Mindfulness
- Mindset
- Parenting & Child Development
- Pet Lifestyle & Wellness
- Positive Thinking
- Productivity
- Self Confidence
- Sleep Improvement
- Stress Management & Relaxation
- Travel Planning
- Yoga & Fitness
- Yoga & Mind-Body Practices
- Education & Learning
- Family & Parenting
- Fashion
- Accessories
- Alexander McQueen
- Bags
- Bags & Wallets
- Balenciaga
- Belts
- Blazers
- Blouses & Shirts
- Bottega Veneta
- Bottoms
- Brunello Cucinelli
- Burberry
- Chanel
- Chloé
- Dior
- Dolce & Gabbana
- Dresses
- Etro
- Gucci
- Hats & Hair Accessories
- Hoodies & Sweatshirts
- Jacquemus
- Jewelry
- Jil Sander
- Jimmy Choo
- Kiton
- Luggage
- Luggage Bags
- Men's Fashion
- Miu Miu
- Off-White
- Outerwear
- Prada
- Rick Owens
- Saint Laurent
- Skirts
- Socks & Tights
- Sunglasses
- Sweaters & Cardigans
- The Row
- Tom Ford
- Tops & Shirts
- Valentino Garavani
- Versace
- Vivienne Westwood
- Watches
- Fashion Accessories
- Furniture
- Gadgets
- Health & Beauty
- Health & Wellness
- Home & Garden
- Home Supplies
- Kids & Babies
- Lighting
- Patio, Lawn & Garden
- Personal Growth
- Pet Care
- Pet Supplies
- Pets
- Shoes
- Sport & Outdoors
- Super Deals
- Thanksgiving Digital Collection
- AI & Tech-Enhanced Thanksgiving
- Budgeting & Smart Shopping
- Eco-Friendly & Sustainable Thanksgiving
- Family & Kids
- Gift Ideas Guides
- Gratitude & Mindfulness
- History & Meaning
- Hosting & Planning
- Leftovers & Storage
- Pets & Thanksgiving
- Social Media Captions & Ideas
- Thanksgiving DIY Ideas
- Thanksgiving Recipes
- Thanksgiving Products
- Travel
- Wealth
- Wealth Building
- Budgeting & Saving
- Cryptocurrency Investing
- Debt Management
- Entrepreneurship & Business Growth
- Family Finance & Budgeting
- Financial Independence
- Financial Mindset & Psychology
- Financial Planning
- Frugal Living & Expense Hacks
- Goal Setting
- High-Income Skills
- Investing Basics
- Leadership
- Motivation
- Networking & Mentorship
- Passive Income Strategies
- Real Estate Investing
- Side Hustles
- Stock Market Investing
- YouTube Shorts Best-Sellers
Printable Easter Table Décor Checklist for a Spring Table
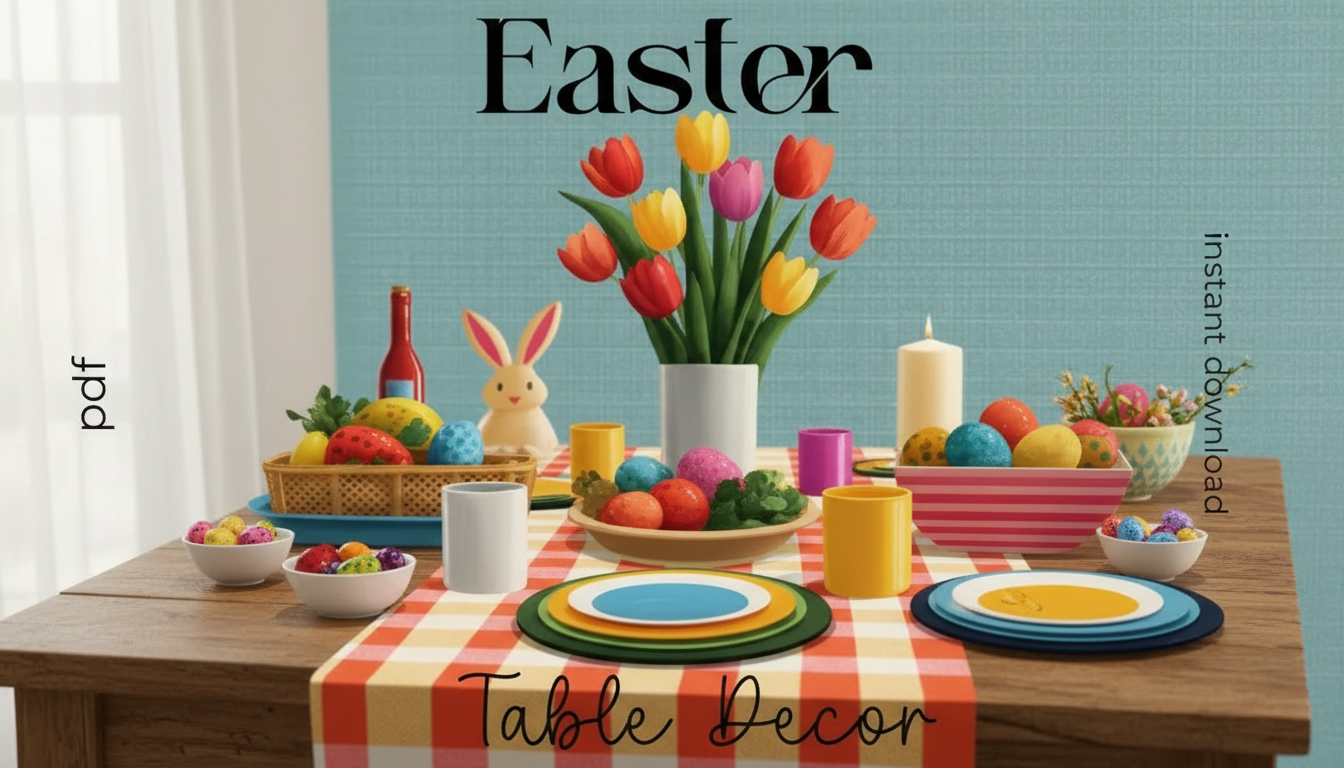
Easter Table Décor Checklist: A Printable Plan for a Spring-Ready Tablescape
A cohesive Easter table comes together faster with a simple plan: pick a theme, gather the basics, layer in seasonal details, and set everything up in a logical order. A printable checklist and tablescape planner helps streamline decisions, track what’s already on hand, and avoid last-minute shopping—so the table feels thoughtful, not rushed. For more guidance, see bing.txt.
What the checklist and planner helps organize
When multiple items compete for attention (linens, florals, candles, eggs, favors), a checklist keeps the look intentional and the setup manageable. A good planner can help you map out: For further reading, see 3.
- Theme and color palette choices (so every item looks like it belongs)
- Table basics: linens, plates, glassware, flatware, napkins, and serving pieces
- Centerpiece planning: height, width, candle safety, and sightlines for conversation
- Place settings and personal touches: name cards, favor ideas, and kid-friendly elements
- A shopping list section to prevent duplicates and track missing items
- A setup sequence so décor is placed in the easiest, least smudgy order
A simple Easter tablescape formula (works for casual or formal)
Whether you’re hosting a full dinner or a relaxed brunch, the same layering method works—start broad, then refine.
- Start with a clean base layer: tablecloth or runner first, then placemats to define each seat.
- Add the “everyday core” next: plates, water glasses, and flatware—this locks in spacing and prevents overcrowding later.
- Build one focal point: a centerpiece that stays low enough for eye contact, or uses tall elements only at the ends of a long table.
- Repeat one detail across the table: matching napkin folds, small bud vases, or a recurring pastel accent for cohesion.
- Finish with texture and sparkle: candles, ribbon, or a touch of metallic (gold, brass, or silver) to elevate the look.
Pick a look: three spring styles that photograph beautifully
Choosing a clear style upfront makes shopping and styling faster. These three options work with a wide range of dishware and dining spaces:
- Garden Fresh: tulips or daffodils, gingham or soft linen, woven accents, and simple white dishes.
- Classic Pastels: pale pink, butter yellow, mint, and sky blue with crisp napkins and a neat, symmetrical centerpiece.
- Modern Minimal: neutral base (white, cream, or gray) with one statement color (sage, blush, or lavender) and clean lines.
- Use your planner to assign each element (linens, centerpiece, place setting, favors) to the chosen style so nothing clashes.
| Style | Best base | Centerpiece idea | Quick finishing touch |
|---|---|---|---|
| Garden Fresh | Linen runner + woven placemats | Mixed bud vases | Herb sprigs on napkins |
| Classic Pastels | White cloth + pastel napkins | Low floral + eggs | Ribbon-tied cutlery bundle |
| Modern Minimal | Neutral runner | Single statement vase | Taper candles in one color |
Checklist essentials: what to gather before decorating
Collecting everything first prevents the “half-set table” shuffle where you keep re-spacing items. Use this as a quick pre-decor sweep:
- Linens: tablecloth/runner, placemats, napkins (plus a stain remover pen or wipes for the day-of).
- Dinnerware: plates/bowls, serving platters, and a dedicated spot for the main dish to keep the table balanced.
- Glassware: water and one additional glass if needed (juice, wine, or sparkling).
- Flatware: verify extras for dessert and serving utensils for each dish.
- Centerpiece supplies: vase(s), florals/greenery, candles and holders, and a protective tray or mat under wax-prone pieces.
- Seasonal accents: decorative eggs, bunny details, ribbon, name cards, mini baskets, or small favors.
- Lighting: candles or soft ambient lighting to keep the table warm as daylight changes.
A no-stress timeline using the planner
The easiest tablescapes are assembled in stages. A simple timeline keeps décor fresh and the table usable while cooking happens.
- 2–7 days before: choose the color palette, list what’s already available, and decide on one centerpiece approach.
- 1–2 days before: wash/press linens, confirm dish count, print place cards, and stage décor in one bin or basket.
- Morning of: set linens and place settings first; keep the centerpiece off the table until food prep is mostly complete.
- 30–60 minutes before guests: add florals, candles, name cards, and any edible décor (like chocolate eggs) last.
- After the meal: the checklist doubles as a pack-up guide—note what should be stored together for next year.
Centerpiece planning: height, safety, and spacing
Place settings that feel special (without extra clutter)
Printing and prep tips for a smooth setup
Printable picks to streamline Easter hosting
- Easter Table Décor Checklist – Printable Guide for Decoration Table for Easter, Spring Tablescape Planner, Instant Download (instant download for essentials, accents, shopping list, and setup order)
- 6pcs Transparent Plastic Christmas Ball Ornaments (repurpose as fillable “spring orbs” with pastel tissue, faux moss, or small paper name tags for a playful place-setting accent)
- Portable Camping Cooler Bag (handy for keeping bottled drinks or make-ahead desserts chilled when fridge space is tight during holiday prep)
Printable Easter Table Décor Checklist (instant download)
FAQ
What should be on an Easter table décor checklist?
Include linens, place settings, serving pieces, centerpiece supplies, seasonal accents, lighting, and a setup timeline. Add quantities per guest (plus a few extras) so you don’t come up short on glasses, forks, or napkins.
How do you decorate an Easter table on a budget?
Start with what you already own—white plates and neutral linens work with any spring theme—then add one affordable focal point like grocery-store flowers. Repeat a single accent (ribbon, decorative eggs, or greenery) across the table for a cohesive look without buying lots of new items.
When should the centerpiece be placed on the table?
Add the centerpiece near the end, after most food prep is done and after place settings are positioned. This keeps florals looking fresh, reduces the chance of spills or smudges, and leaves more workspace while you’re cooking.
Recommended for you


Was this article helpful?
Yes
No








Leave a comment