-
Shop
- Advanced Technologies
- AI Skills Mastery 2026 Collection
- Apple Accessories
- Arts, Crafts & Hobbies
- Best-Sellers
- Calvin Klein
- Car Accessories
- Christmas Collection
- Dating & Social Skills
- Denim
- 7FOR
- AGOLDE
- Antony Morato
- Armani Exchange
- Boss
- Brunello Cucinelli
- Calvin Klein Jeans
- Costume National
- Desigual
- Diesel
- Dolce & Gabbana
- Dsquared²
- Ermanno Scervino
- Fendi
- Gianni Lupo
- Guess Jeans
- Ichi
- Just Cavalli
- Lee
- Levi's
- Liu Jo
- Morgan De Toi
- Mother Denim
- Only
- Pepe Jeans
- Pinko
- Replay
- Tommy Hilfiger Jeans
- Valentino
- Vero Moda
- Digital Resources
- Car Buying & Ownership
- Cozy Feast Collection
- Emotional Intelligence
- Financial Education
- Home Styling & Organization
- Mindfulness
- Mindset
- Parenting & Child Development
- Pet Lifestyle & Wellness
- Positive Thinking
- Productivity
- Self Confidence
- Sleep Improvement
- Stress Management & Relaxation
- Travel Planning
- Yoga & Fitness
- Yoga & Mind-Body Practices
- Education & Learning
- Family & Parenting
- Fashion
- Accessories
- Alexander McQueen
- Bags
- Bags & Wallets
- Balenciaga
- Belts
- Blazers
- Blouses & Shirts
- Bottega Veneta
- Bottoms
- Brunello Cucinelli
- Burberry
- Chanel
- Chloé
- Dior
- Dolce & Gabbana
- Dresses
- Etro
- Gucci
- Hats & Hair Accessories
- Hoodies & Sweatshirts
- Jacquemus
- Jewelry
- Jil Sander
- Jimmy Choo
- Kiton
- Luggage
- Luggage Bags
- Men's Fashion
- Miu Miu
- Off-White
- Outerwear
- Prada
- Rick Owens
- Saint Laurent
- Skirts
- Socks & Tights
- Sunglasses
- Sweaters & Cardigans
- The Row
- Tom Ford
- Tops & Shirts
- Valentino Garavani
- Versace
- Vivienne Westwood
- Watches
- Fashion Accessories
- Furniture
- Gadgets
- Health & Beauty
- Health & Wellness
- Home & Garden
- Home Supplies
- Kids & Babies
- Lighting
- Patio, Lawn & Garden
- Personal Growth
- Pet Care
- Pet Supplies
- Pets
- Shoes
- Sport & Outdoors
- Super Deals
- Thanksgiving Digital Collection
- AI & Tech-Enhanced Thanksgiving
- Budgeting & Smart Shopping
- Eco-Friendly & Sustainable Thanksgiving
- Family & Kids
- Gift Ideas Guides
- Gratitude & Mindfulness
- History & Meaning
- Hosting & Planning
- Leftovers & Storage
- Pets & Thanksgiving
- Social Media Captions & Ideas
- Thanksgiving DIY Ideas
- Thanksgiving Recipes
- Thanksgiving Products
- Travel
- Wealth
- Wealth Building
- Budgeting & Saving
- Cryptocurrency Investing
- Debt Management
- Entrepreneurship & Business Growth
- Family Finance & Budgeting
- Financial Independence
- Financial Mindset & Psychology
- Financial Planning
- Frugal Living & Expense Hacks
- Goal Setting
- High-Income Skills
- Investing Basics
- Leadership
- Motivation
- Networking & Mentorship
- Passive Income Strategies
- Real Estate Investing
- Side Hustles
- Stock Market Investing
- YouTube Shorts Best-Sellers
Best 12–16 Inch Kids Bikes (Ages 3–9) With Training Wheels
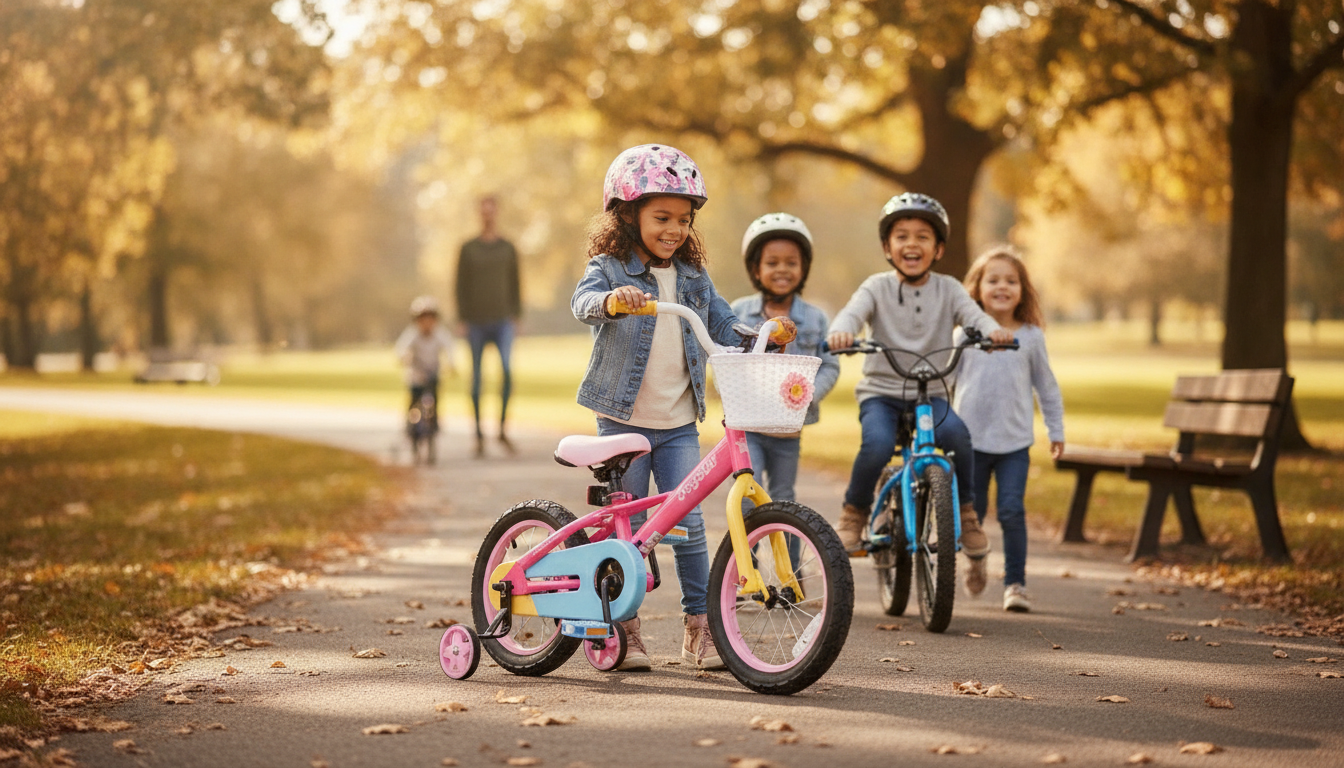
Kids Bike for Ages 3–9: 12–16 Inch Options with Training Wheels
A well-fitted first bike builds confidence fast. The “right” kids bike isn’t the one a child can grow into someday—it’s the one that feels easy to start, steer, and stop today. Below is a practical guide to 12–16 inch kids bikes with training wheels, including quick sizing help, a fast fit check, features that matter for comfort and control, and simple ways to transition from supported riding to independent pedaling.
What a 12–16 Inch Kids Bike Covers (Ages 3–9)
Wheel size describes the tire diameter, not a child’s age. The best match depends mostly on height and inseam, plus how confidently a child can reach the pedals and controls.
- 12-inch bikes typically suit first-time riders who are still mastering starting, stopping, and steering.
- 14-inch bikes often bridge the gap for kids who outgrow 12-inch quickly but aren’t ready for 16-inch.
- 16-inch bikes are common for confident young riders who can pedal smoothly and use hand brakes (or are learning).
- A correct fit allows a child to straddle the top tube comfortably and reach controls without stretching.
Quick sizing guide for 12–16 inch kids bikes
| Wheel size | Typical age range | Typical height range | Typical inseam range | Notes |
|---|---|---|---|---|
| 12 inch | 3–5 | 36–42 in | 14–17 in | Great first pedal bike; prioritize easy reach and stable training wheels |
| 14 inch | 3–6 | 38–45 in | 16–19 in | Helpful in-between size for fast growers; check availability and adjustability |
| 16 inch | 4–8 | 42–50 in | 18–22 in | Roomier fit; consider brake style and confident starts/stops |
Fit Check in 60 Seconds (What Parents Should Measure)
A fast fit check prevents most common first-bike frustrations—wobbly starts, sore legs from overreaching, and “I can’t stop!” panic. Grab a tape measure and do these quick checks.
- Measure inseam: Have your child stand against a wall wearing shoes. Measure from floor to crotch.
- Standover comfort: With the child straddling the bike, feet should be flat or nearly flat, and the top tube shouldn’t press into the body.
- Reach: Hands should rest naturally on the grips with a slight bend in elbows and relaxed shoulders (no hunching).
- Seat height: Early on, a slightly lower seat helps confident stops. Raise gradually as pedaling improves.
- Control access: Your child should be able to squeeze brakes (if present) and push pedals smoothly without strain.
Training Wheels: When They Help (and When to Adjust Them)
Training wheels can be helpful when the goal is building pedaling rhythm, steering control, and basic coordination. The key is setting them up to support learning—not replace it.
- Use them for the basics: They’re best for learning to start pedaling, steer around gentle turns, and stop calmly.
- Don’t set them too low: Adjust so both training wheels sit slightly off the ground. A small lean encourages balance instead of rigid “four-wheel” riding.
- If the bike feels tippy: Confirm both training wheels contact evenly (when leaned) and that rear axle hardware is tight.
- Step-down approach: As confidence grows, raise one side slightly or remove both and practice gliding with feet down before full independent riding.
- Pick the right practice spot: Choose flat, smooth areas away from traffic; avoid steep slopes until braking is consistent.
Features That Make Riding Easier for Kids
Kids learn faster when a bike feels “light” and intuitive. Small details—grip thickness, brake style, and tire width—can change the whole experience.
- Weight and geometry: Lighter bikes and kid-friendly frame shapes reduce fatigue and make turning easier.
- Grips and handlebar width: Smaller hands do better with slimmer grips and handlebars that don’t force arms too wide.
- Brakes: Coaster brakes are simple for beginners; hand brakes can be easier to modulate once hand strength and coordination improve.
- Tires: Slightly wider tires add stability and comfort on sidewalks and packed paths.
- Chain guard and fenders (if included): Help protect clothes and reduce pinches while learning.
- Adjustability: A good seat and handlebar height range extends the usable life of the bike through growth spurts.
Safety Essentials Before the First Ride
Comfort matters, but safety is non-negotiable. Take two minutes to check helmet fit, bike condition, and a few simple rules before every ride.
- Helmet fit: Level on the head, low on the forehead, with snug straps forming a “V” under the ears. Replace after a crash or if it’s outgrown. Helpful guidance is available from the CPSC.
- Clothing: Closed-toe shoes, no loose pant legs near the chain, and avoid dangling drawstrings.
- Quick bike check: Tires firm, wheels secure, brakes engaging, handlebar tight, and pedals spinning freely.
- Visibility: Bright colors and reflectors; consider a bell for shared paths. More general guidance is summarized by NHTSA.
- Supervision and rules: Practice stopping on command, looking ahead, and avoiding driveways and intersections during early sessions.
Assembly, Setup, and Ongoing Care
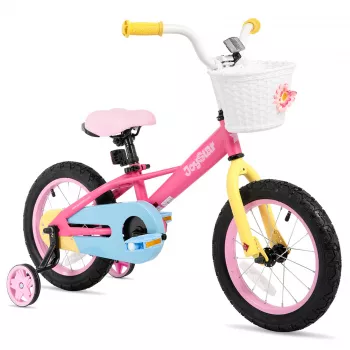
Recommended In-Stock Picks
- Kids Bike for Ages 3-9, 12-16 Inch with Training Wheels ($141.47)
- Portable Camping Cooler Bag ($606.01)
A Good Match for Growing Riders
FAQ
How do I choose between a 12-inch and 16-inch bike for my child?
Start with inseam and standover comfort: if your child can’t straddle the bike comfortably and reach the controls without stretching, size down. If both sizes fit, choose the one that allows calm starts, controlled stops, and steady steering.
Should training wheels touch the ground the whole time?
No—set them so the bike can lean slightly. Full, constant contact can delay balance development, so adjust both sides evenly and raise them gradually as confidence improves.
When is a child ready to remove training wheels?
Common signs include steady pedaling, controlled braking, and starting/stopping without panic. Practice gliding with feet down and gentle turns first, then remove training wheels when those skills feel consistent.
Recommended for you
Was this article helpful?
Yes
No


Leave a comment